
4/25/2008 05:14:00 PM Posted by Blogger Blogspot


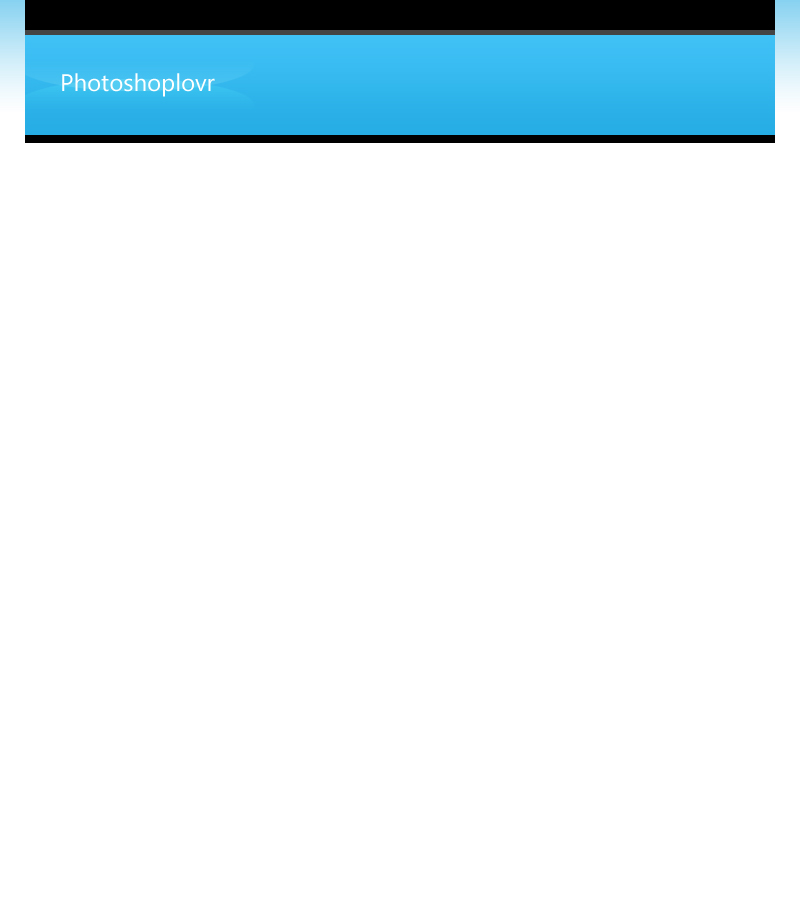
1. Start by opening a new 800 * 900 px file
2. Create a new layer and make a #4dbce9 to Transparent gradient form top to bottom like in the image below

3. Create a new layer again, select the Rectangular Marquee Tool and set a fixed size of 750 * 30px, now place your selection at the top of the canvas and fill it with #000000

4. Create a new layer, select the Rectangular Marquee Tool and set a fixed size of 750 * 5px, place your selection under your past one and fill it with #444444

5. Create a new layer, select the Rectangular Marquee Tool and set a fixed size of 750 * 100px, place your sleection under the past one and fill it with #26ade4

6. Apply this layer style
- Gradient: #26ade4 to #40c1f6

7. Create a new layer and using the Text Tool write the name of your site, place it as in the image

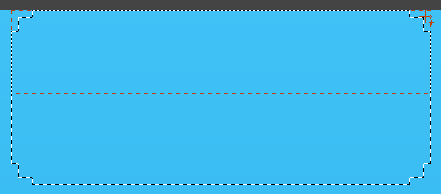
8. Create a new layer and place it under your text layer, select the Elliptical Marquee Tool and make a selection as in the image below

9. Make a White to Transparent Gradient from bottom to top

10. Duplicate this layer(Ctrl+J), go to Edit -> Transform -> Flip Vertical
11. Change both layer’s blend mode to Overlay and Opacity to 40%-60%

12. Create a new layer and place it over the text layer, select the Rectangular Marquee Tool and use a fixed size of 750 * 3px, place this selection under the blue block and fill it with #000000
13. Create a new layer, select the Single Row Marquee Tool and make a selection 1px under the top of the last one, fill it with #ffffff and change this layer’s blend mode to Overlay

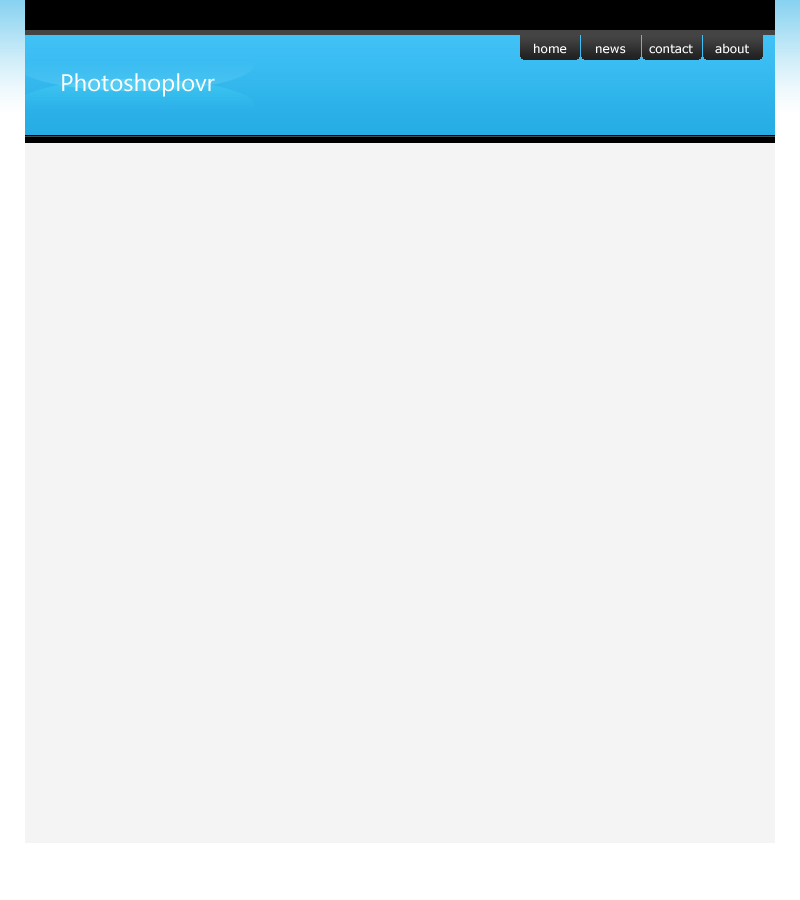
14. Now we’re going to make the menu, using tabs. You can create a new Group of layers to be more organized.
15. Create a new layer, select the Rectangular Marquee Tool and set a fixed size of 60px * 25px, place your selection in the canvas and go to Select -> Modify -> Smooth and use 3px as radius, you will now get the 4 corners rounded, but we only need 2, the bottom ones, select the Rectangular Marquee Tool again but with using a fixed size and press Shift while select the top corners
16. Fill your selection with any color and apply this layer style
- Gradient: #202020 to #444444

17. Duplicate this layer as many times as you need

18. Now add text to each button with the Text Tool and a web-safe font(Verdana, Tahoma, Arial..)

19. Now let’s continue with the main part, where the content is. First start by makin a container for it. Create a new layer(and a new group if you’re using them) and select your Rectangular Marquee Tool, set a fixed size of 750 * 700px and place your selection underneath the whole layout. Fill this selection with #f4f4f4
20. Create a new layer again, select the Rectangular Marquee Tool and set a fixed size of 530 * 650px, go to Select -> Modify -> Smooth and use a 5px radius. Fill it with any color

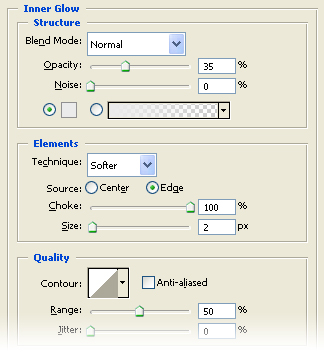
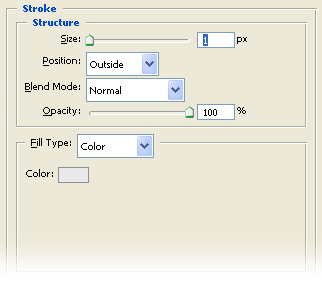
21.Now apply these layer styles to it
- Inner Glow
- Stroke
22. Here you can start writing your content, first off the heading. I’m using Trebuchet MS, 18pt and #26ade4 as color

23. Write next the content, I’m going to use Lorem Ipsum as fill-up text. Verdana, 10pt and #aeaeae as color, I also added an image to it so it look less empty

24. Now let’s add a list. Write a heading for it(duplicate the last heading layer and change it’s text) and make a new text layer with the list text on it. Make some kind of bullet using the Pencil Tool or use any small icon/bullet you have
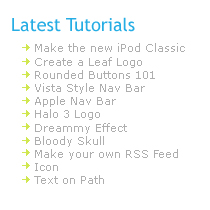
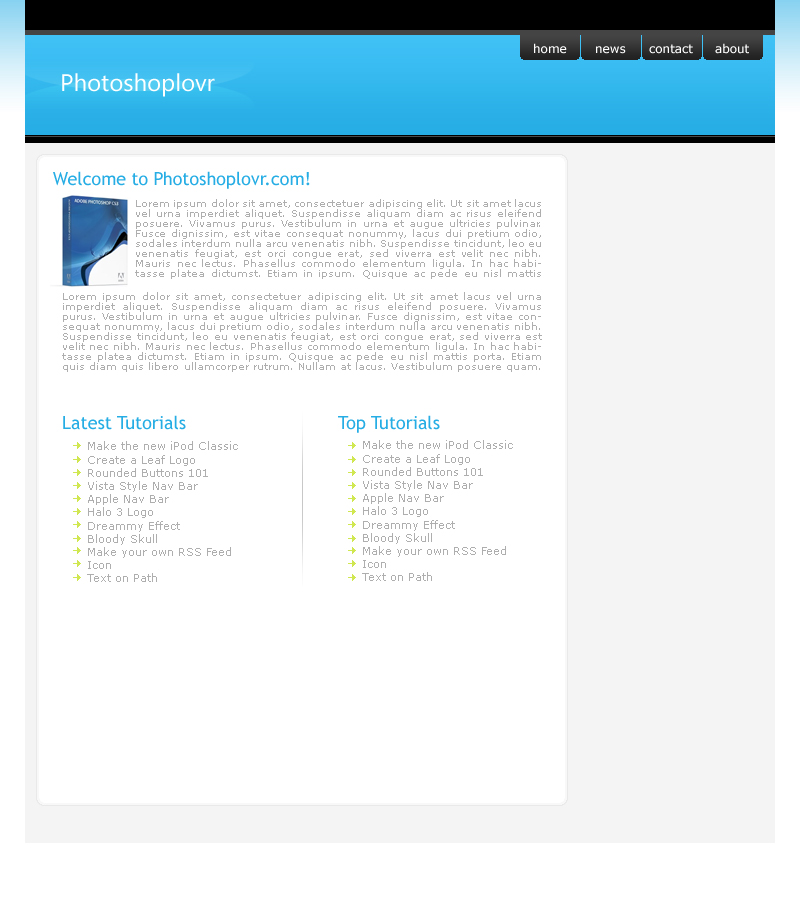
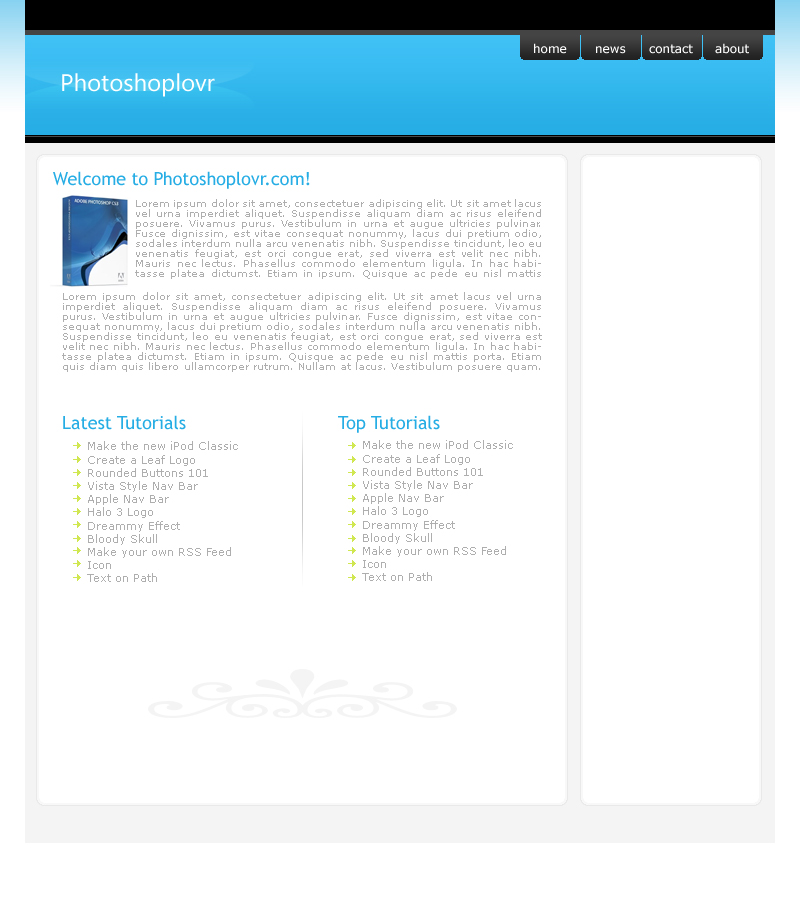
25. I added another list next to it and here’s what you should have done so far
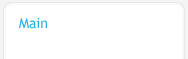
26. Now, let’s make the sidebar. Make a new layer group(not necessary) called Sidebar. Create a new layer inside it, select the Rectangular Marquee Tool and set a fixed size of 180 * 650px, go to Select -> Modify -> Smooth and set a 5px radius, place your selection next to the content container and fill it with White(#ffffff)
27. Apply the same layer styles as in step 21
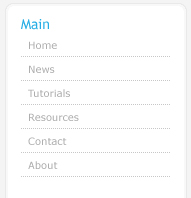
28. Write “Main” using Trebuchet Ms, 14pt and #26ade4
29. Now write a list of links using Verdana 10pt and #aeaeae. After each link place a dotted 1px height line
30. To make this dotted lines you can use a pattern, open a new 2px * 1px file and using the Pencil Tool with a 1px default brush draw 1px inside the file(the following image has 1600x zoom)

31. Now go to Edit -> Define Pattern and name your pattern whatever you want. Select the Rectangular Marquee Tool and set a fixed size of 150px * 1px, place your selection under your first link, create a new layer and go to Edit -> Fill
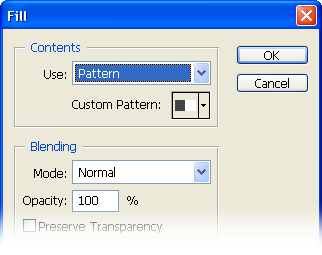
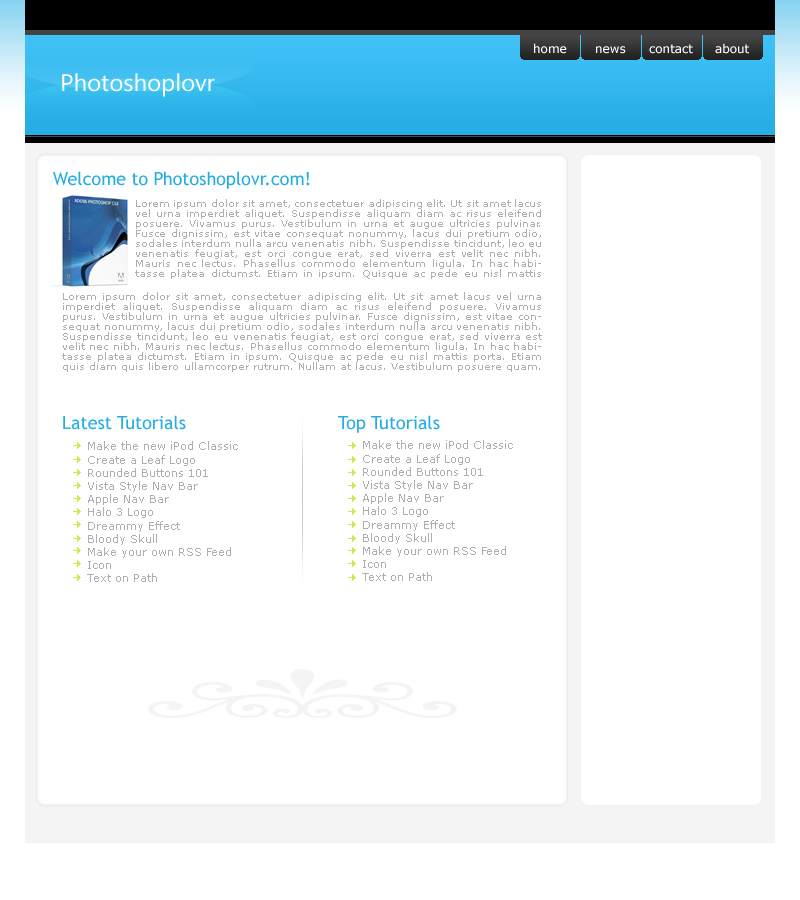
32. You can add as many links as you need but since this is just an example, I will trow up an ad. This is what you should have so far

33. Now, the last part, the footer. Create a new Layer Group called Footer and create a new layer inside it. Select the Rectangular Marquee Tool and set a fixed size of 720 * 20px, place your selection at the bottom of your template but inside of the grey container, go to Select -> Modify -> Smooth and use 5px as radius and fill it with White

34. Apply the same layer styles as in Step 21

35. Add some links to the footer, or a copyright notice and your done with it
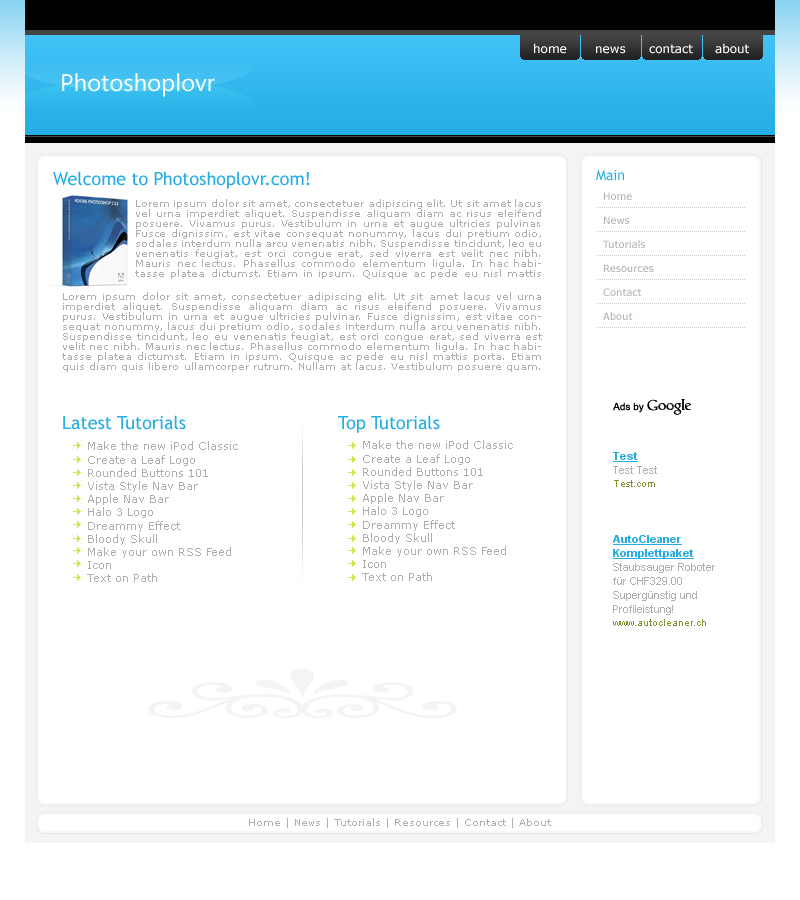
36. Your template should be finished by now, thanks for following this tutorial, I hope it helped you understand the basics of creating a web template and if you have any comment/question, don’t hesitate to leave them below ![]()

